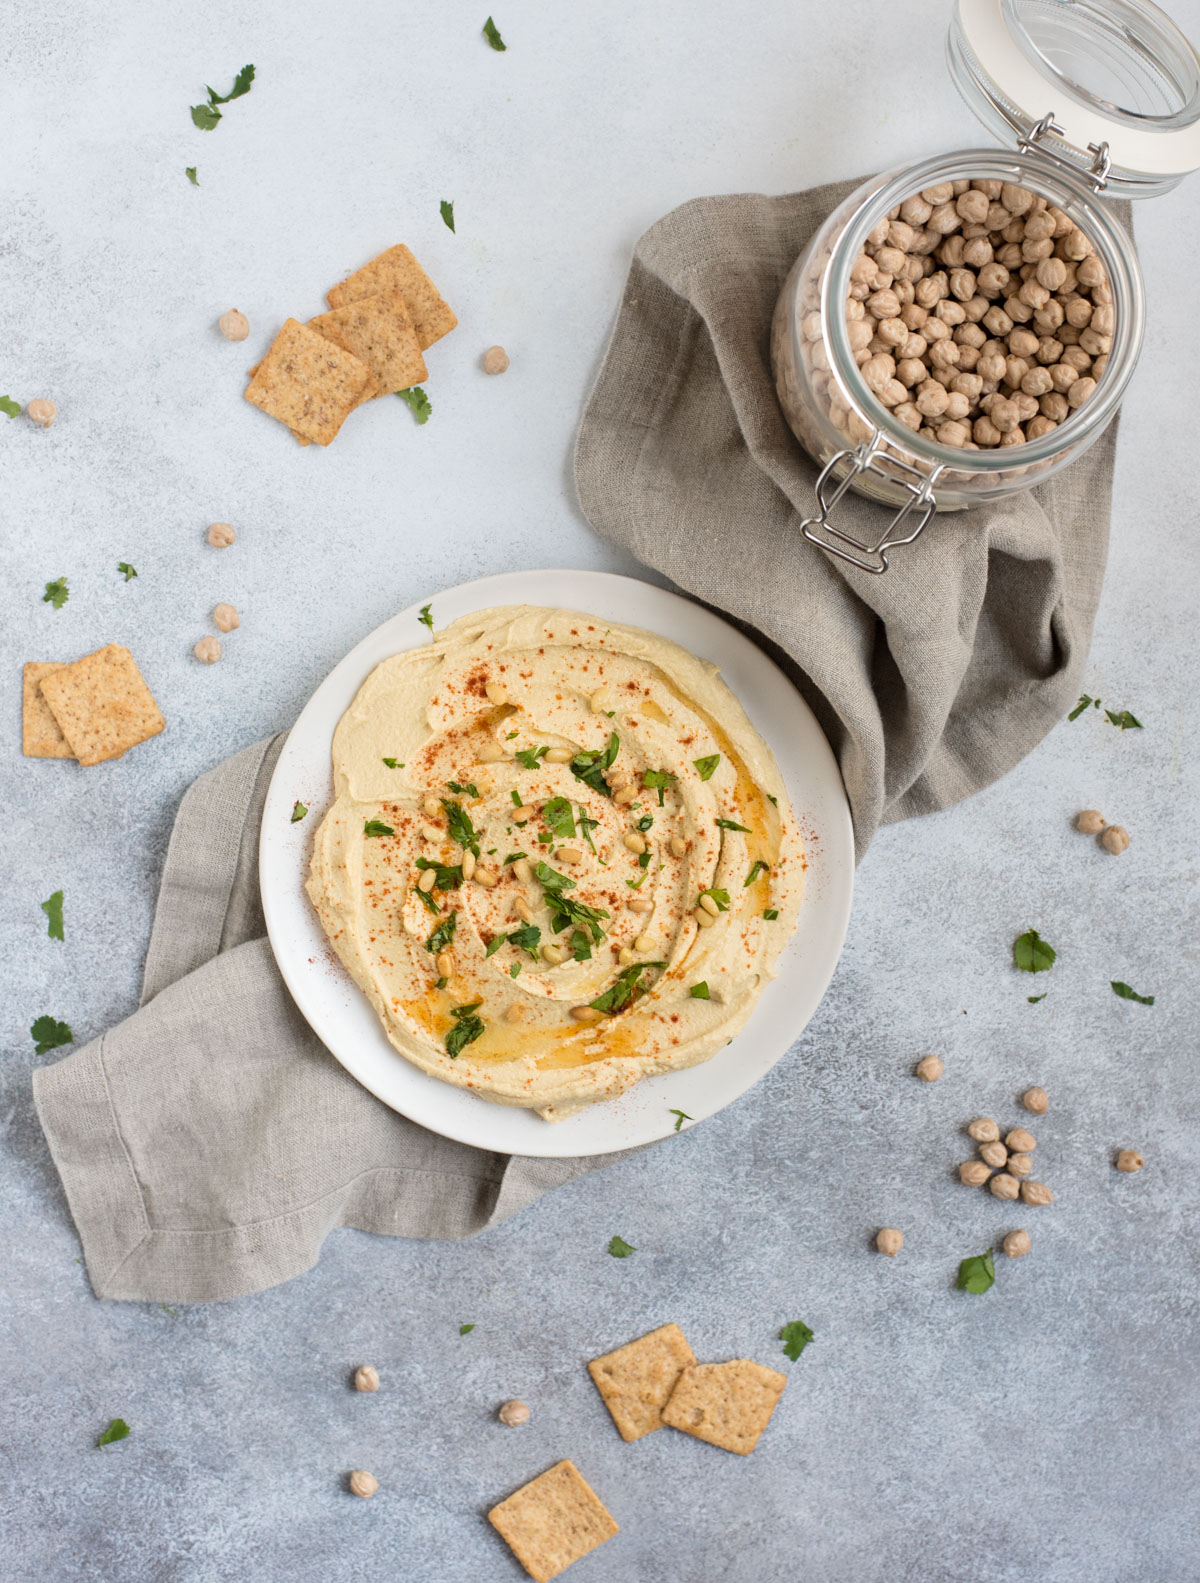
This classic hummus recipe is creamy with just the right amount of tang and perfectly balanced flavor. Either eat it as is or use as a base and customize to your preferences. Hummus is naturally plant based snack paired with pita and veggies. Its a great spread for sandwiches too!
I originally published this classic hummus recipe four years ago, back in 2014. I updated it to bring it front and center cause its soooo good! Beings that I still make it regularly, I’d say it’s a tried and true winner. I’ve been making my own hummus for the last 10+ years after finding out how incredibly easy it is.
And homemade tastes way better than even the best store bought kind you can find. Money just can’t buy this kind of freshness. The texture of homemade hummus is just so much creamier and smoother.
Think of your favorite Mediterranean restaurant – this is that kind of hummus. The kind with just the right amount of lemony tang, underlying garlic, and smooth fluffy texture that you want to smother all over everything in sight. Nothing is safe from this kind of hummus. I found myself questioning whether I should dip apple slices in it the other day. (you shouldn’t by the way… its weird)
In order to eat well, I need to have wholesome snacks stashed away in the fridge. Not want, need. If I don’t, I’ll be elbow deep in a bag of Cheetos with a partially melted ice cream cone in my other hand before I even know what’s happening. Maybe a slight over exaggeration, but sadly closer to the truth than I’d like to admit. I’m a snacker, so preparing more wholesome choices in advance keeps me on track.
Luckily, this high protein classic hummus recipe works for even the busiest of snack fiends out there. Why? It only takes 10 minutes to make! Plus, it comes together in a food processor or blender, so dish washing is minimal.
Hummus is mostly veggie based, but I truly feel it should be a separate food grouping all on its own because this stuff fills a gigantic place on my personal food pyramid. There are sooo many different versions of hummus too, but for today, I want to give you a basic recipe that can be altered to fit your preferences or eaten as is (my personal favorite).
Whether you’re in the mood for beet hummus, chipotle hummus, avocado hummus, or anything else you can think up, you can rest easy knowing that pretty much any add-in works with this classic hummus recipe. Click those links though if you want to branch out and try some other tried and true flavors.
Another thing I’d like to note about this recipe – go ahead and double it if you’re planning to share. Seriously, my husband and I blow through this so quickly that I always regret not making more. It keeps for a few days in the fridge, five at the absolute most. If I know I’m going to be eating it over the next few days, I’ll just add a touch more water when I’m blending to make sure it doesn’t get thick and pasty when chilled. The water and oil is what keeps it light and fluffy.
In past hummus recipes, I’ve talked about removing the outer skin from canned chickpeas to make the hummus smoother. Well, I got a new Vitamix blender and this thing pulverizes the beans and I can’t even tell the difference.
So, if you have an old food processor or blender, you might need to remove the outer skin (see my crispy chickpea recipe for instructions on this) to get super smooth hummus. If you have even a semi-decent blender though, this isn’t necessary and is just wasted effort.
So, I hope I’ve convinced you to make this dip if you’ve never tried to before! Start with this classic hummus recipe and once you’re hooked, branch out and try allllll the flavors!
Classic Hummus
Ingredients
- 15 oz. cooked garbanzo beans (15 oz. can)
- 2 Tbsp. fresh squeezed lemon juice
- 2 Tbsp. tahini
- 1 tsp. freshly minced garlic (1 extra large clove or 2 smaller)
- 1/2 tsp. salt (or more if desired)
- 1/2 tsp. cumin
- 3 Tbsp. olive oil
- 2 – 4 Tbsp. water or liquid from garbanzo bean can*
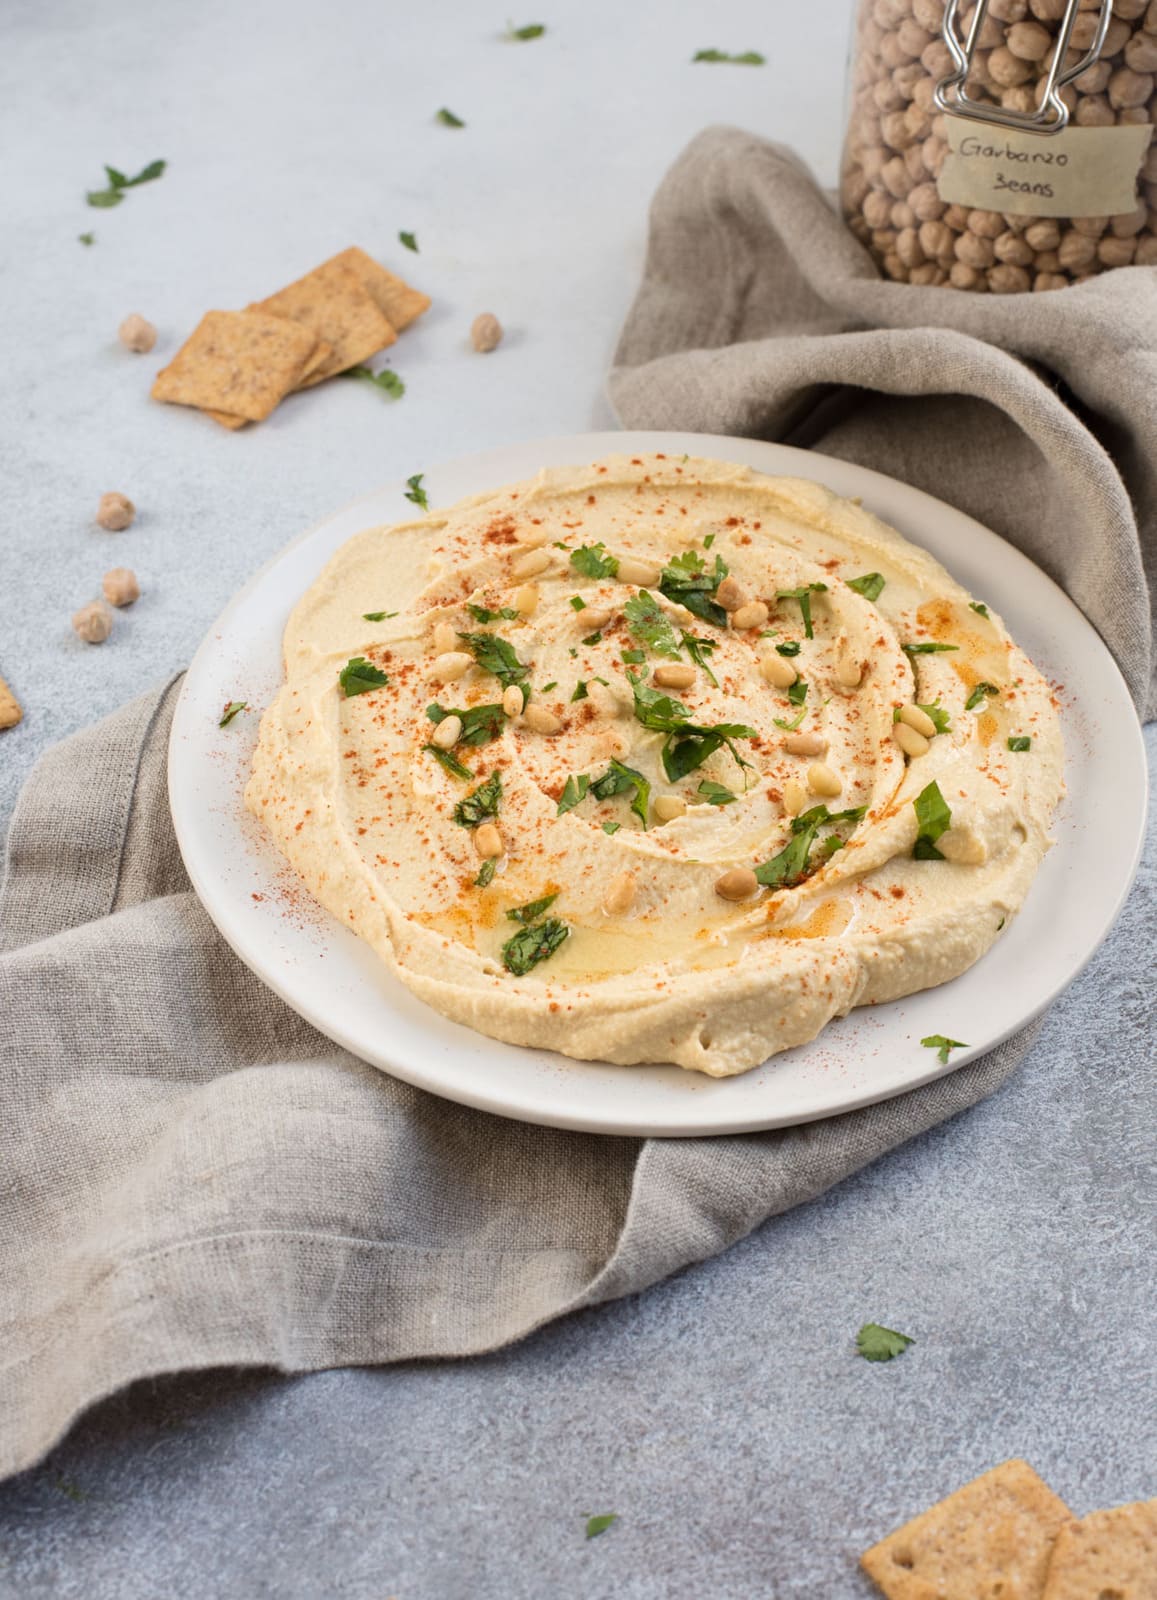
- Optional garnishes: chopped fresh parsley, paprika, olive oil, and toasted pine nuts
Instructions
- Combine all ingredients except water and oil in a food processor or blender and mix into a paste. (1-3 minutes).
- Scrape sides of food processor and drizzle in oil and 2 Tbsp. water. Blend for another 2 minutes until smooth and creamy. If desired, add more water and/or lemon juice, 1 tablespoon at a time, and blend.*
- Taste and adjust seasoning levels if desired.
- Remove hummus from food processor using a rubber spatula. Either garnish and serve immediately or store for up to five days in an airtight container in the refrigerator.
Notes
Nutrition
did you make this recipe?
Make sure to follow on Pinterest @feastingnotfasting and on Instagram @feastingnotfasting


Leave a Review