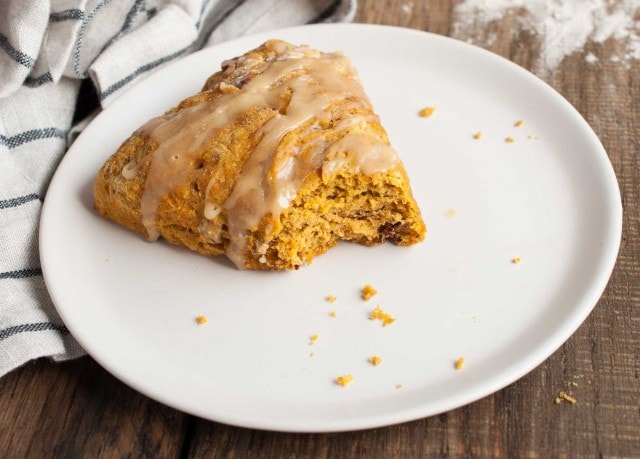
These easy pumpkin scones are both healthy and delicious! They’re loaded with pumpkin, toasted pecans, and use whole wheat flour and less sugar.
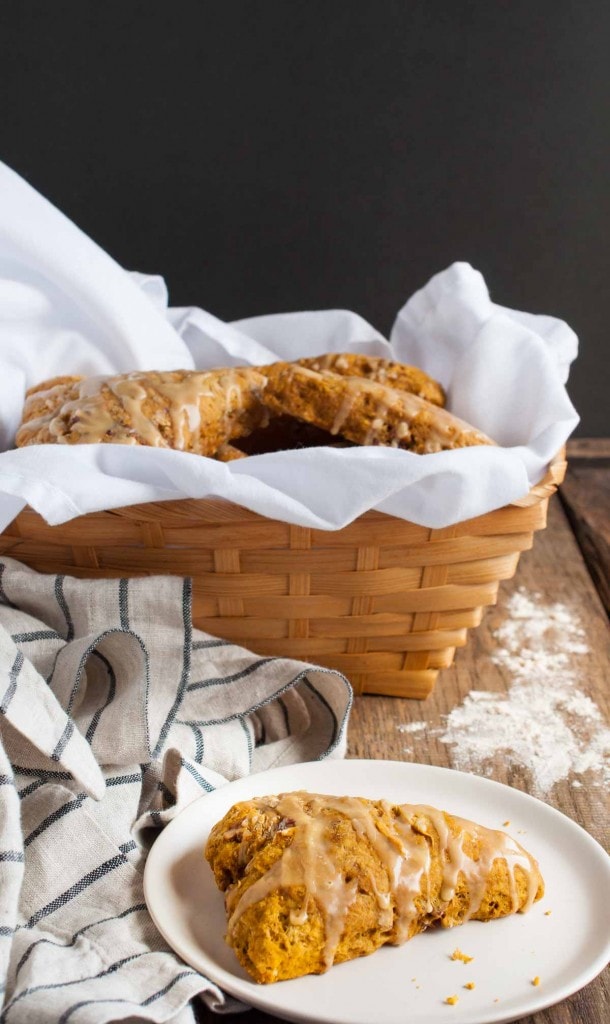
How is thanksgiving over already? I hope yours was as fabulous as ours was, full of friends, family, and loads of laughs. Fall has now officially been replaced with winter, but I’m not ready to let go of pumpkin yet. The main reason for this is pumpkin scones!
So tasty, healthy, nutty, and filling. They’re definitely worth making any time of year. Scones have a reputation for being a bit tricky, but they really don’t have to be. These come together pretty quickly and don’t require any advanced kitchen skills whatsoever.
Scones also have a reputation for dryness. Fear not! Scones don’t have to be dry and inedible. That isn’t actually a requirement.
These pumpkin scones are perfectly moist and have a great texture. They’re a bit less crumbly than your standard scone, mainly because the recipe uses less butter than most, but they’re still incredibly delicious and will satisfy all your scone cravings. Yes, I know butter isn’t a health food, but its a requirement for a tasty scone. Just deal with it.
Plus, we’re replacing the need for extra butter with nutritious pumpkin. Just one scone has your daily allotment of Vitamin A. Winning! If scones aren’t your thing, check out this pumpkin bread. It’s super tasty.
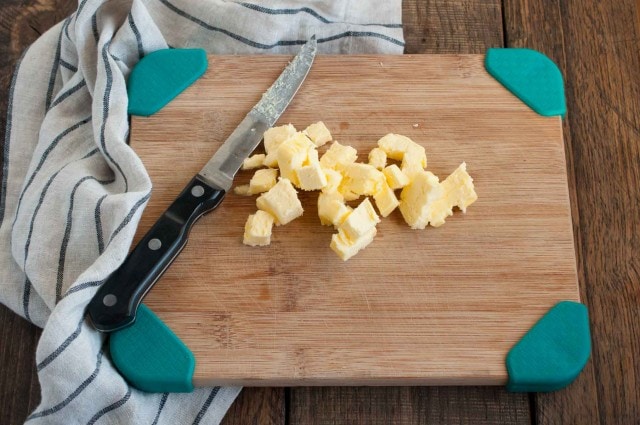
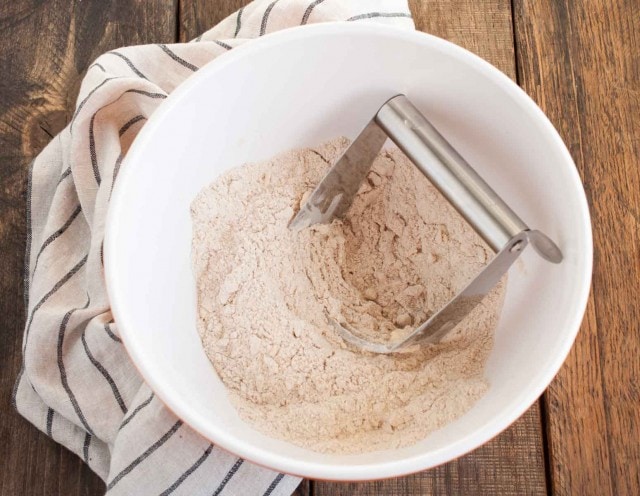
As you can see below, you have to cut (or grate) the butter into small pieces and then break it down into smaller clumps with your pastry cutter (or a fork will do). This works best with cold butter because this allows it to break down into tiny clumps that will eventually form air pockets in the scones. These air pockets create flakiness.
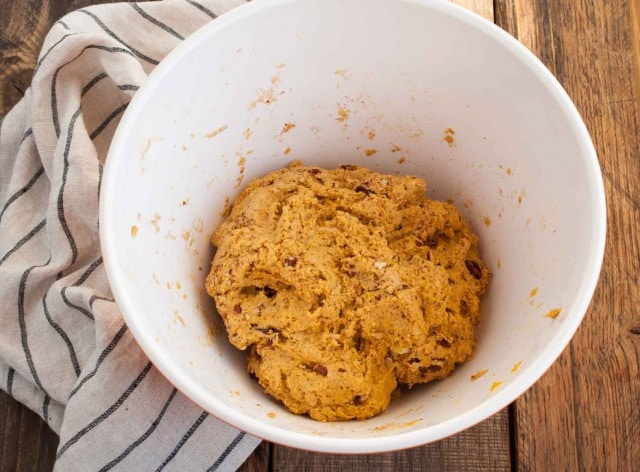
Once you work in the pumpkin and other wet ingredients, you get a glob like this. It will be sticky and a bit wet still. This is what makes a pre-floured surface so handy for pastries. It keeps the dough from sticking. Just try to avoid picking up too much additional flour in the process or your scones might get too dry.
I did this directly on one of my non-stick silicone mats because I’m lazy and don’t like doing dishes. I then baked them on that same mat. Yes, I know. My laziness knows no bounds. My gravity towards sloth-hood even surprises myself at times. I was a sloth in another life. Straight chillin.
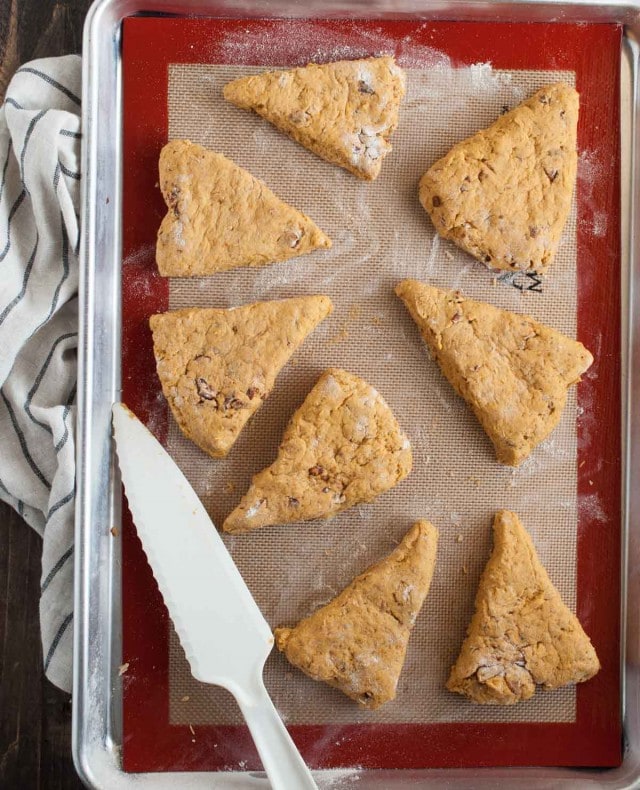
But, when all is said and done, it doesn’t matter how lazy I was. It worked. Just make sure not to use a sharp knife on those baking mats because it will damage them permanently. I used a plastic knife that I bought a long time ago for cutting lettuce.
You could also do this step on a smooth countertop, pastry board, or cutting board like a normal person too. Take your pick.
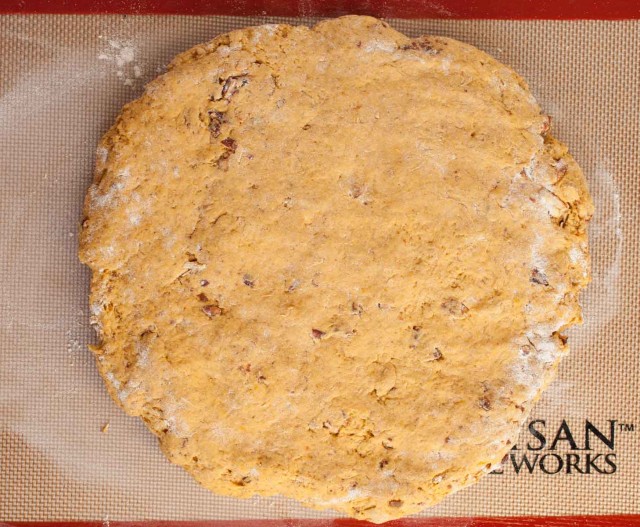
When cutting the circle into eighths, try to make sure that each scone is similar in size. I ended up two that were way smaller and two that were way bigger. As you’d suspect, the smaller scones will be done faster and the larger ones will take longer.
This isn’t a deal breaker by any means, but means that you’ll have to watch those little guys pretty closely.
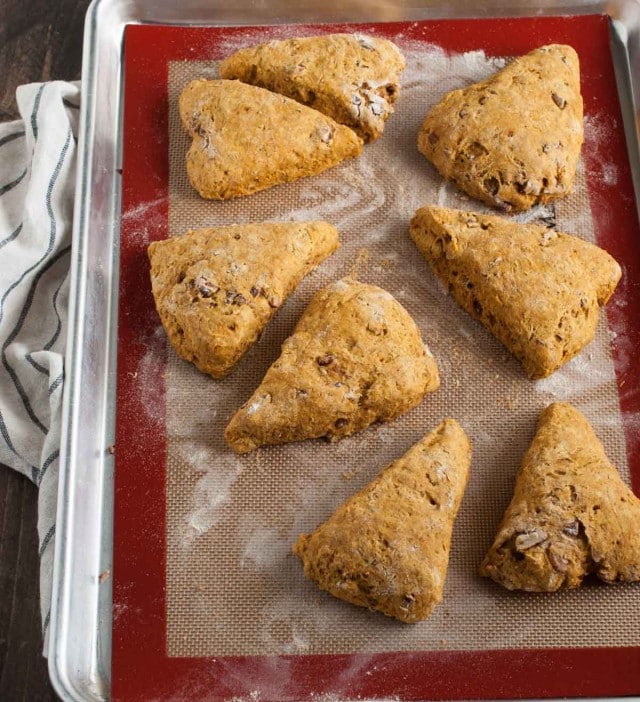
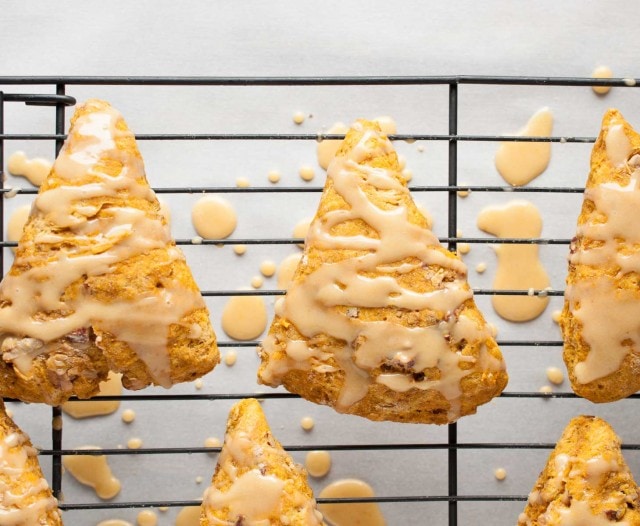
Once the scones have been removed and allowed to cool a bit, you can drizzle them with the maple glaze. In these pictures, I frosted mine after about 15 mins and would recommend waiting a bit longer so that the frosting doesn’t run off and melt.
Another pointer – using the tip of a spoon gives much more control over where the glaze is drizzled than using a larger pouring vessel.
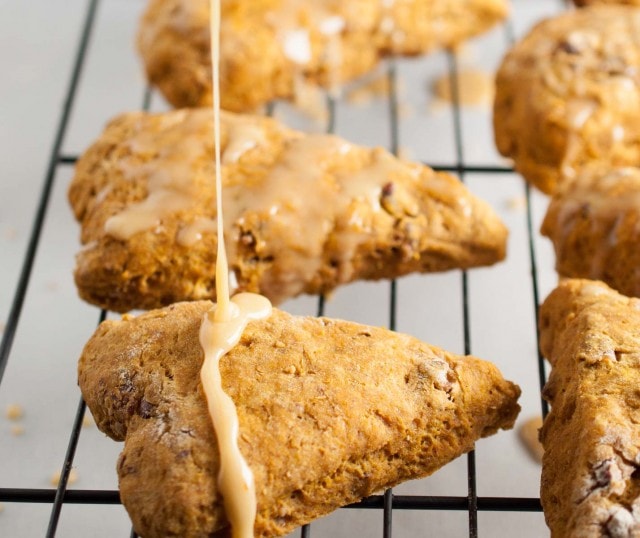
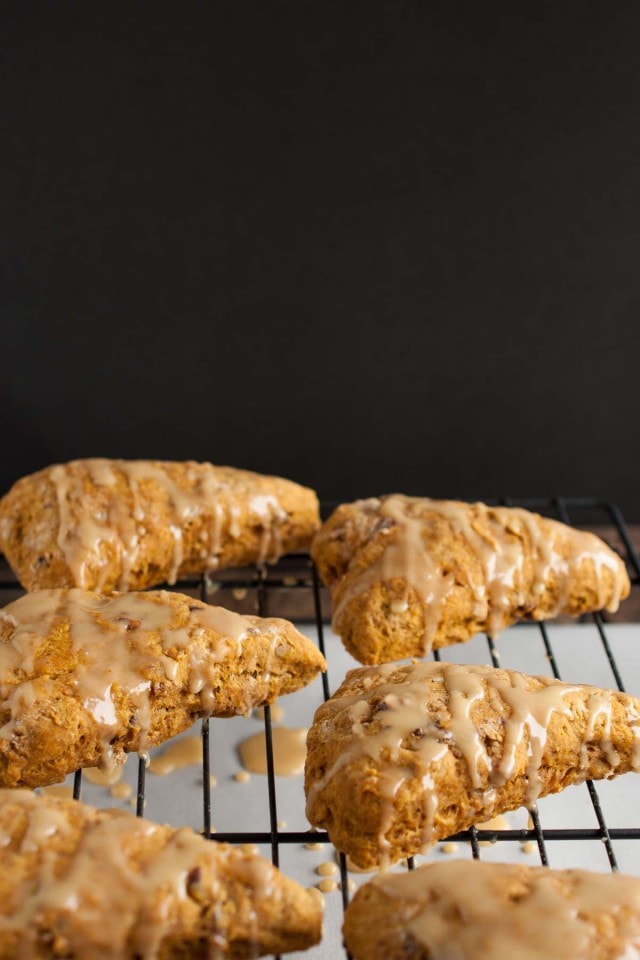
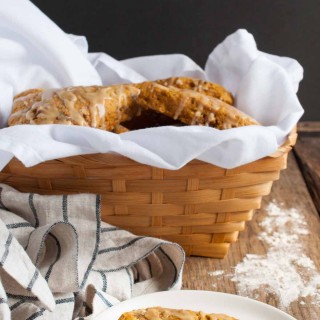
Once the glaze has been added, you can eat them right away. If you’re taking them to go though or plan to be stacking the scones on top of each other, you’ll want to let the glaze dry first. The glaze was set well enough for me to put them in a basket in about 10 minutes, but it will depend on the thickness of the glaze and how cool the scones are.
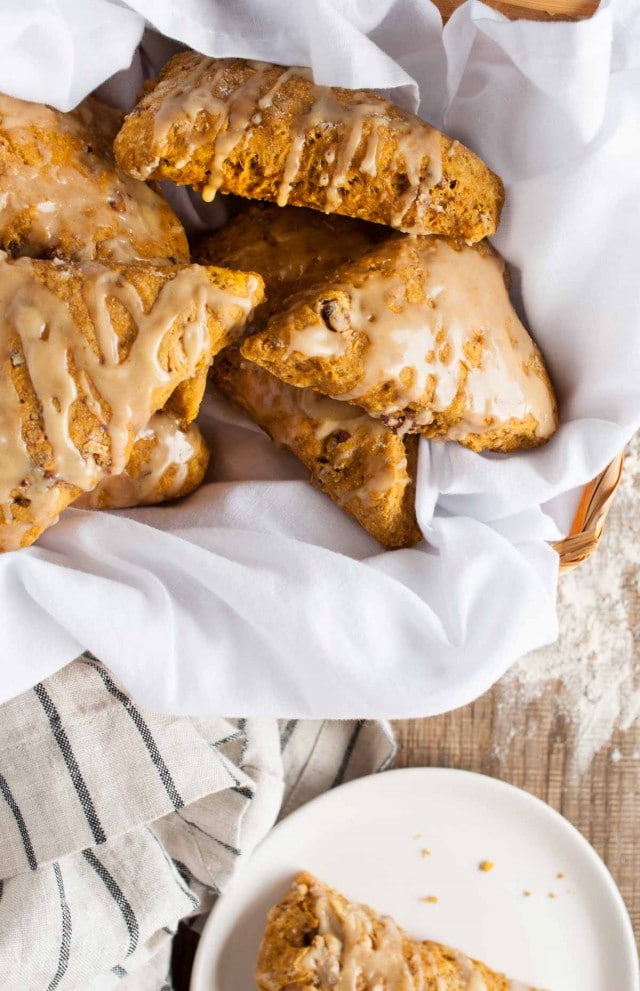
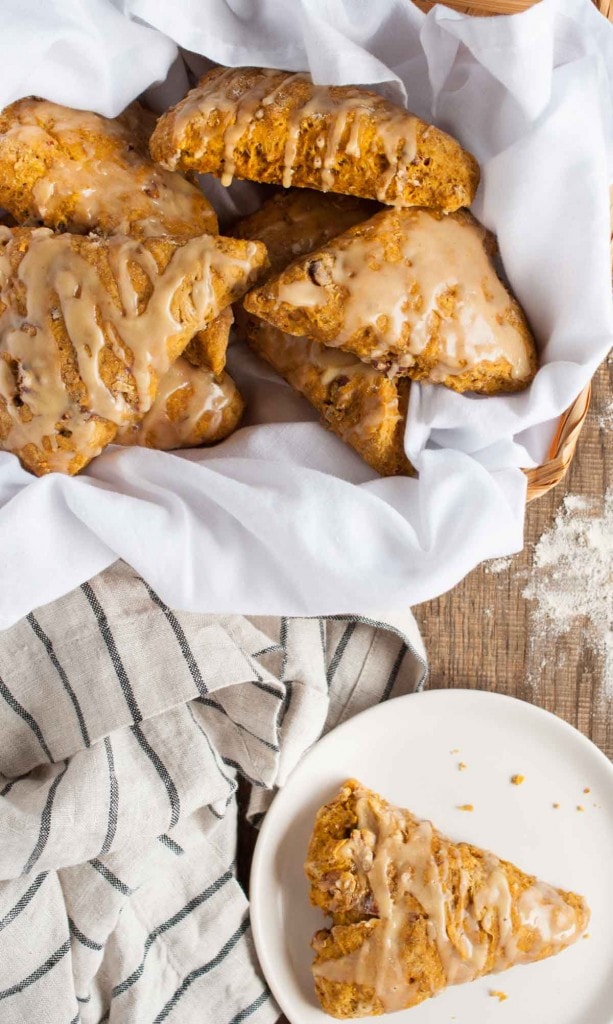
The first time I made these pumpkin scones, I brought them with me to the baby shoot I did of my 3 month old niece a couple weeks ago. I know I already gushed about this in my last post, but I didn’t mention the scones. They truly fueled the process.
We devoured them. The baby had milk.
Ingredients
- 1/2 cup pecans
- 2 cups white whole wheat flour
- 1/4 cup coconut sugar
- 1 Tbsp. baking powder
- 1 tsp. cinnamon
- 1/2 tsp. ground ginger
- 1/2 tsp. ground cloves
- 1/2 tsp. ground nutmeg
- 1/2 tsp. salt (1/4 tsp. if butter is unsalted)
- 1/4 cup butter (half a stick)
- 1 cup pumpkin puree
- 1/4 cup milk (I used almond milk)
- 1 1/2 tsp. vanilla extract
Glaze
- 1/3 cup powdered sugar
- 1/2 Tbsp. pure maple syrup
- 1/2 tsp. vanilla extract
- 1 Tbsp. milk
Instructions
- Place butter in freezer.
- Preheat oven to 400° F (205° C).
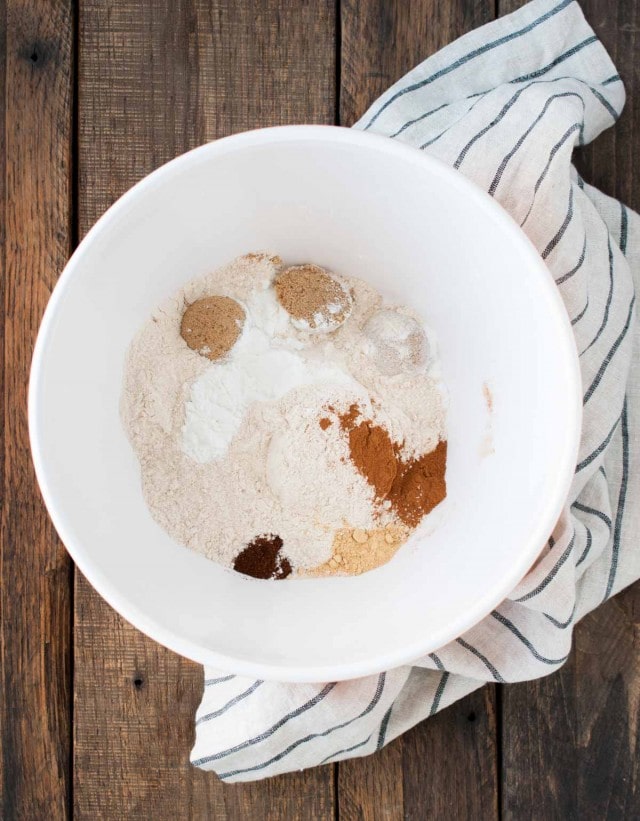
- While oven is preheating, measure remaining dry ingredients (flour, sugar, baking powder, and spices) into a medium sized bowl and stir to combine.
- Place nuts on a baking sheet and toast in preheated oven for about 6 minutes until they start to smell roasted but aren’t turning brown yet. Remove and set aside.
- Remove butter from freezer and either cut into chunks using a knife or grate using the large holes in a cheese grater. Add to dry ingredients and work in with a pastry cutter or fork until butter is in small, pea-sized pieces.
- Chop nuts and add to mixture.
- Add pumpkin, milk, and vanilla and stir well or mix in using hands.
- Place dough on a floured surface and use hands to press into a round 1 inch thick circle (dough will be sticky, but you can add a touch more flour if its too wet to work with).
- Cut into eight triangles and place each on a lined or pre-greased cookie sheet.
- Bake in preheated oven for 16 – 18 mins until scones are cooked through but not tough. Don’t over bake or the scones will be dry!
- While scones are baking, prepare icing by adding all glaze ingredients to a small bowl and using a wire whisk to mix in. If glaze is too runny, add more powdered sugar and if too thick to pour add a small amount more milk.
- After removing scones from oven, allow to cool completely before drizzling each scone with glaze.
Nutrition
did you make this recipe?
Make sure to follow on Pinterest @feastingnotfasting and on Instagram @feastingnotfasting



Comments & Reviews
These turned out fantastic! I’ll be making them multiple times every fall from now on. 🙂
I’m thrilled you enjoyed them!
Hello,
My scones are cooling and waiting for the glaze. My dough was super wet and sticky that I could hardly cut it and get it on the baking sheet. I used all purpose white flour instead of whole wheat. Would that make a difference?
They are not pretty looking, more like muffin blobs. ;|
Huh, I’m not sure. I do remember this recipe being sticky but still manageable. I know whole wheat flour takes more moisture but it shouldn’t be that drastic. You can always add a touch more flour until you get to the right consistency. I hope they turned out okay!
Is it okay to substitute raw sugar for the brown?
I haven’t tested it that way so I’m not sure, but it sounds like it would work. Let me know if you try it Nicole – I’d love to hear how it works!
Turned out great!
HI! I made my scones 2 days ahead of time. They are already baked and glazed. How should I freeze them and then prepare them the day-of? Thanks!
Hi Laura! I haven’t tried freezing them but I’ suggest wrapping each one in plastic really well and then putting in an air tight container in the freezer. Maybe let them defrost in the fridge first since reheating would melt the glaze right off. I can’t vouch for any of this though because I haven’t tried it – if you do, let me know how it turns out!
YUM. These look like a perfect cold-weather breakfast and far superior to a store-bought variety!
They definitely are! These scones are actually back on my ‘to make’ list this week because they were so good. Waaay better than store bought.