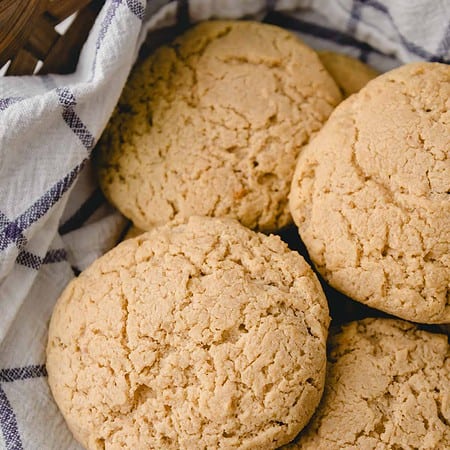
Moist, fluffy buttery oat flour biscuits that are gluten-free, wholesome and simple to make with pantry staples and without rolling out the dough. Use a quick buttermilk hack to turn regular milk and vinegar into a buttermilk alternative that makes these budget friendly, nutritious and so delicious! These biscuits are the perfect healthier bread option to serve with any meal.
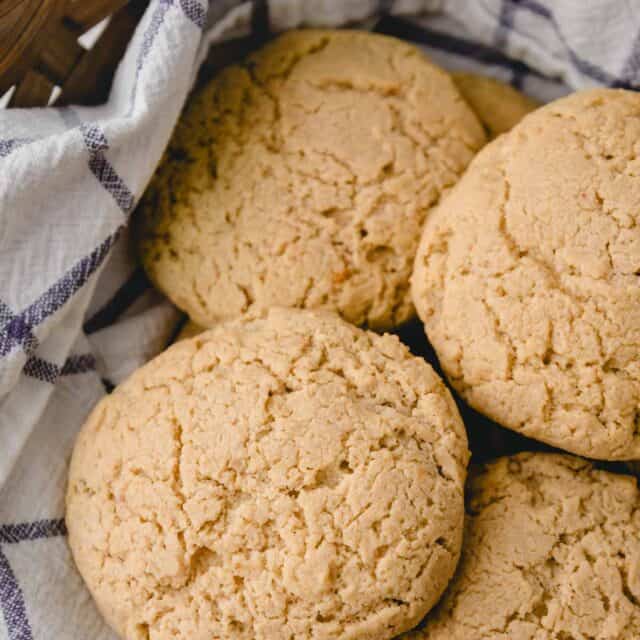
These oat biscuits are so delicious! The perfect amount of crumb, rich buttery flavor with a tender bite. They’re an excellent use of oat flour and a great single flour gluten-free biscuit option. Dunk them into a bowl of beef stew or turkey chili for a hearty winter meal.
Or just eat them on their own with butter or jam. They’re flakey, delicious and perfect to have on hand to round out any meal. We ate them with dinner and then served with breakfast the next morning.
What we love most about this oat flour biscuit recipe:
- Great flavor and texture
- Uses nutritious oat flour
- Made in one bowl + baking pan, no biscuit cutter or rolling pin needed
- No rolling out and cutting the biscuit dough, just drop and shape
- Gluten-free single flour recipe (if you make sure to use gluten-free oat flour or oats for this)
- Easy to make ahead, freeze pull out as needed
They won’t taste the same as traditional biscuits made with wheat flour but you’re bound to love them all the same. Oat flour is just ground oats made into a fine whole grain flour so expect that oat flavor to come through too. They’re more nutritious than biscuits made with white flour though and are a delicious change of pace.
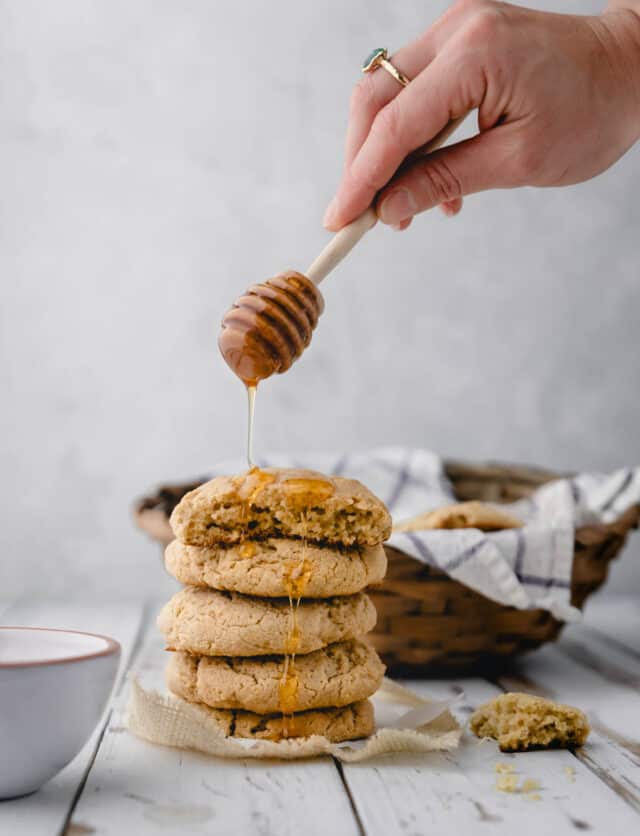
Ingredients and Substitutions
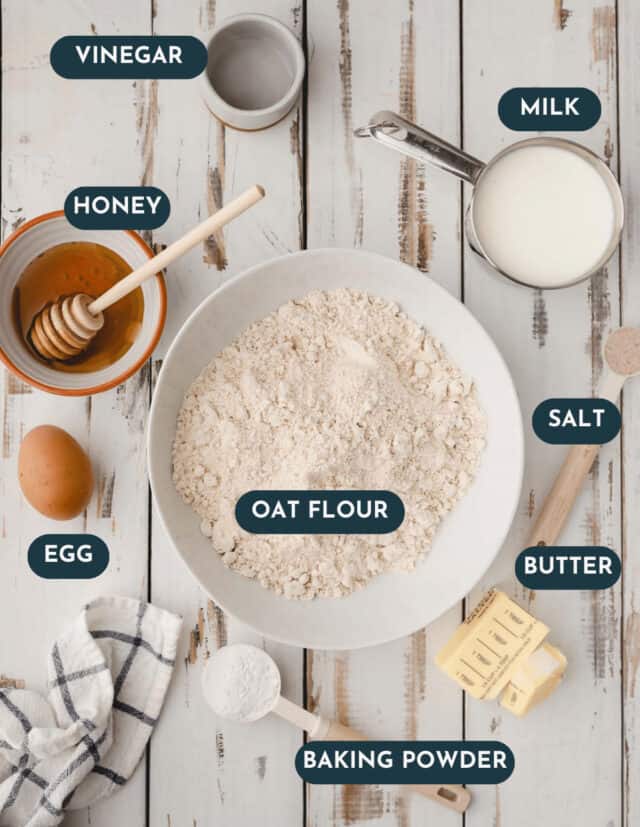
There are only 8 ingredients in these oat flour biscuits:
- whole milk – whole milk works best here since it has additional fat that helps keep the biscuits moist. 2% milk is ok but don’t use nonfat. It won’t work well. If you need to substitute a dairy free milk, you can try oat milk or almond milk but I have not tested this recipe with dairy free milk.
- distilled white vinegar – this curdles the milk into a buttermilk substitute. This gives the biscuits a tang, additional moisture and so much flavor.
- oat flour – this is the base of this recipe so don’t substitute it with anything else! If you need the biscuits to be gluten-free, make sure to buy gluten free oat flour. Or visit this post to learn how to make your own oat flour.
- baking powder – this will give the biscuits rise and cannot be substituted. The brand I linked to is aluminum free. It creates less rise in recipes like this that aren’t baked right away than baking powder with aluminum does. Choose whichever tradeoff you’re most comfortable with.
- salt – salt is essential to getting that delicious biscuit taste! You can reduce to 3/4 teaspoon if you’re using salted butter.
- butter – butter is pretty essential here since it’s used both in the recipe itself and patted on top. You can substitute with a vegan butter stick replacement if you must but seeking out a vegan biscuit recipe is probably a safer bet.
- egg – the egg helps stick everything together. Traditional biscuit recipes don’t need this but since we’re using oat flour, we need that extra liquid and binding power.
- honey – this gives the biscuits a hint of sweetness! It’s barely detectable but makes them taste so much better. If you need to substitute, you can swap with agave syrup or pure maple syrup.
Recipe Testing and Substitutions
It took a lot of testing to get this recipe right. I tried using more egg, without egg, with more/less milk, butter, and baking powder and with different baking times and temperatures. I tested the recipe with Greek yogurt and other ingredients and this is what worked best. They taste great!
I recommend following the recipe on this one since, baking with oat flour can be a bit tricky. I listed a few swaps in the ingredient list above that would probably be okay but still recommend not straying far from the recipe.
How to Make Oat Flour Biscuits
Oat flour biscuits are simple but require an extra step. Since oat flour is more absorbant, you’ll need to refrigerate the dough. We make up for this by not rolling it out though and using a simple drop and shape technique.
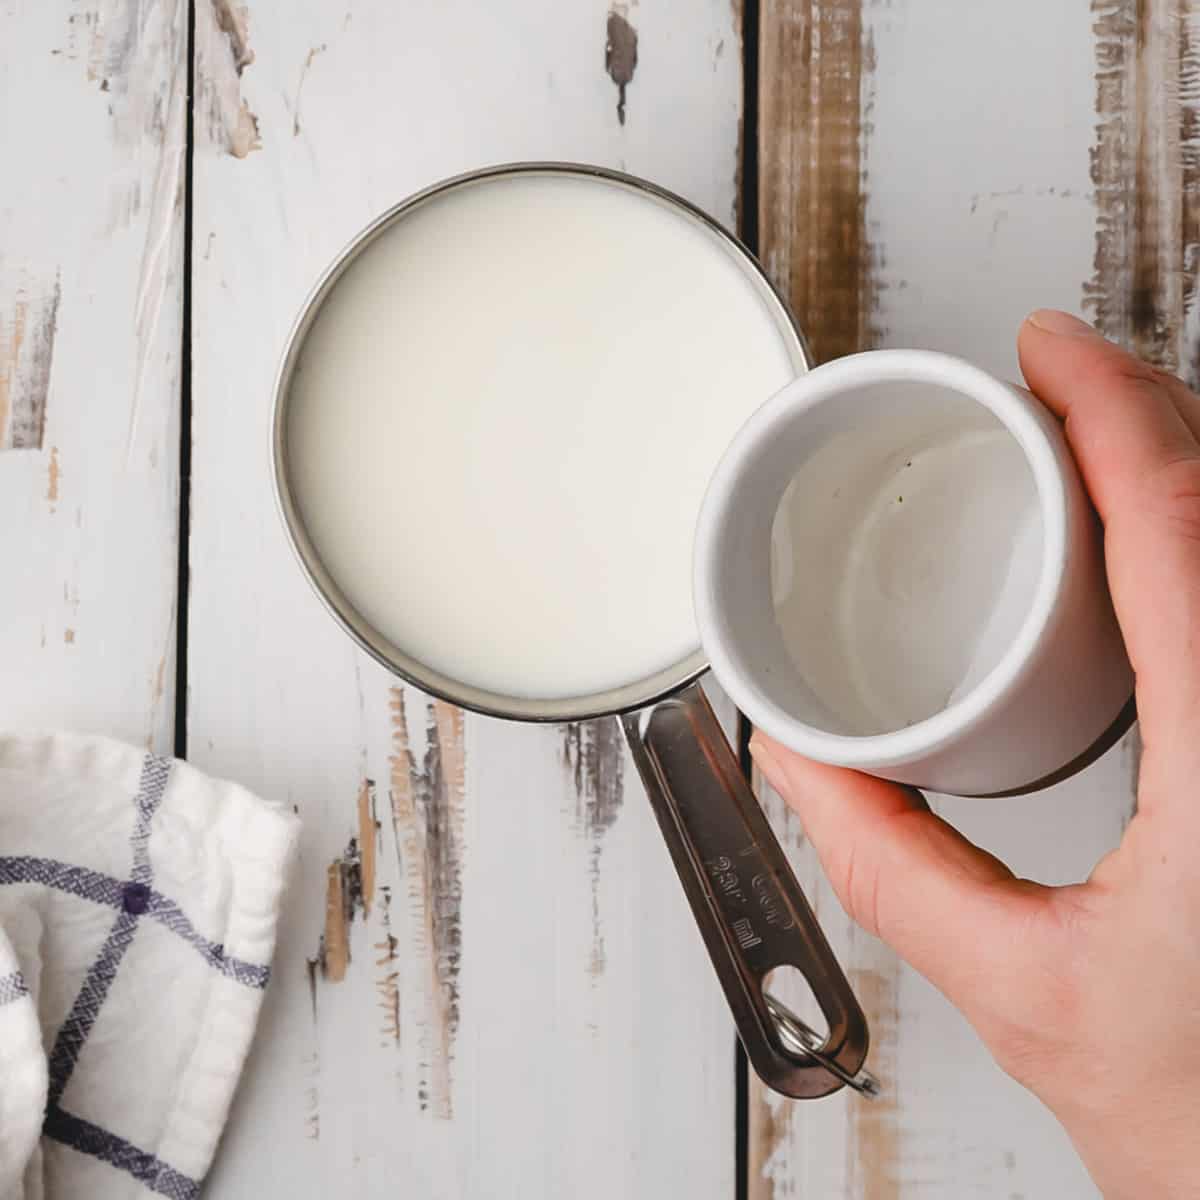
- Mix milk and vinegar together in a small bowl and set aside for 10 minutes while preparing the rest of the recipe. This creates a buttermilk substitute.
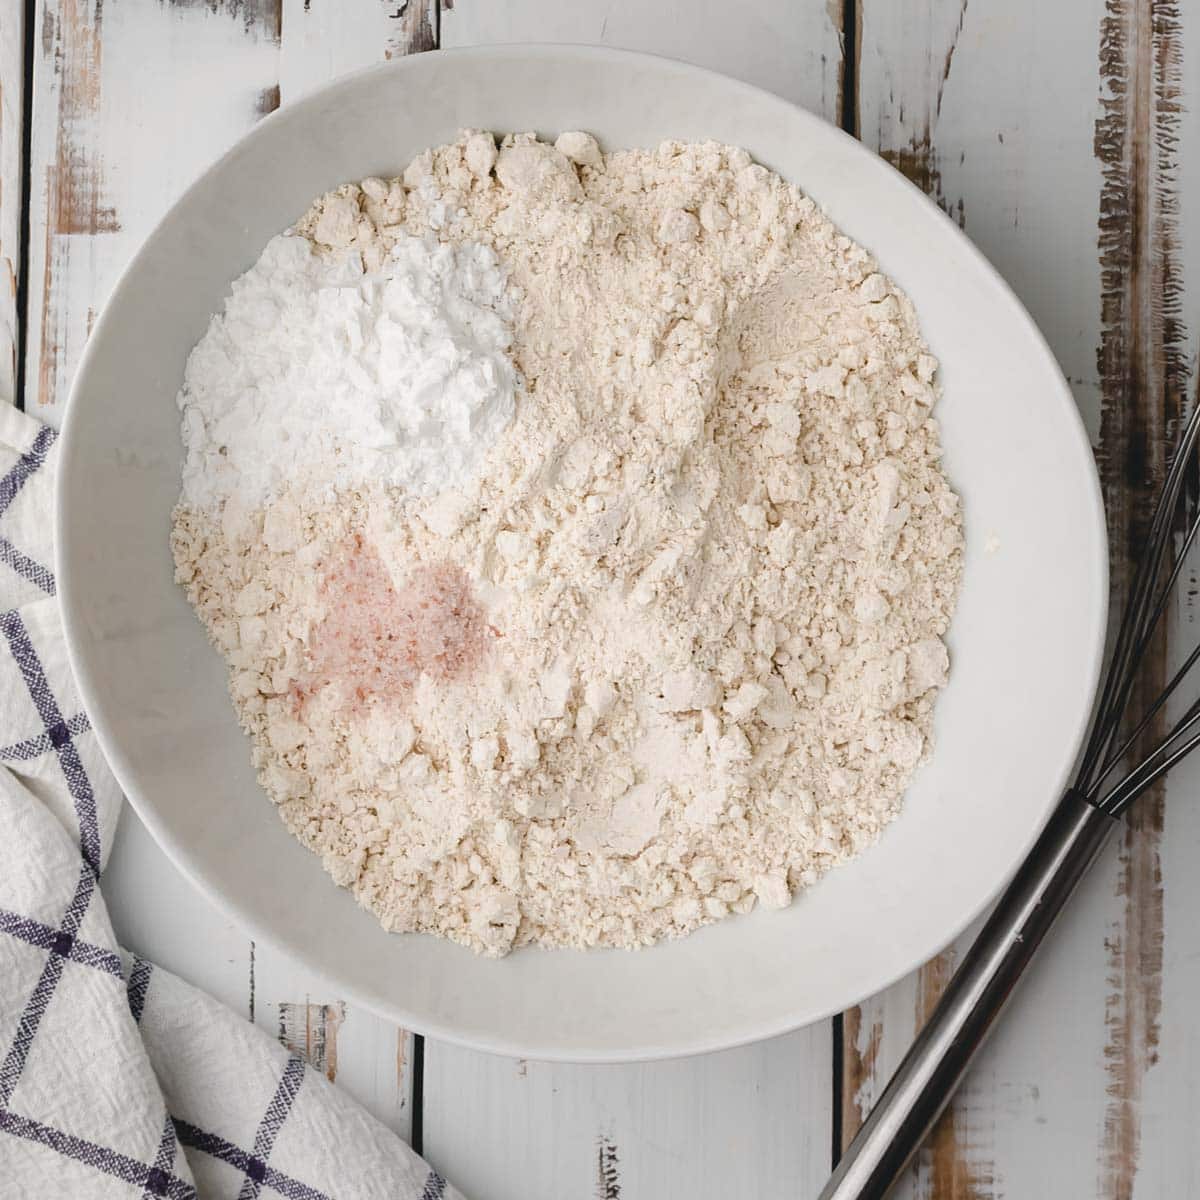
- In a large bowl, whisk together out flour, baking powder and salt until dry ingredients are well mixed.
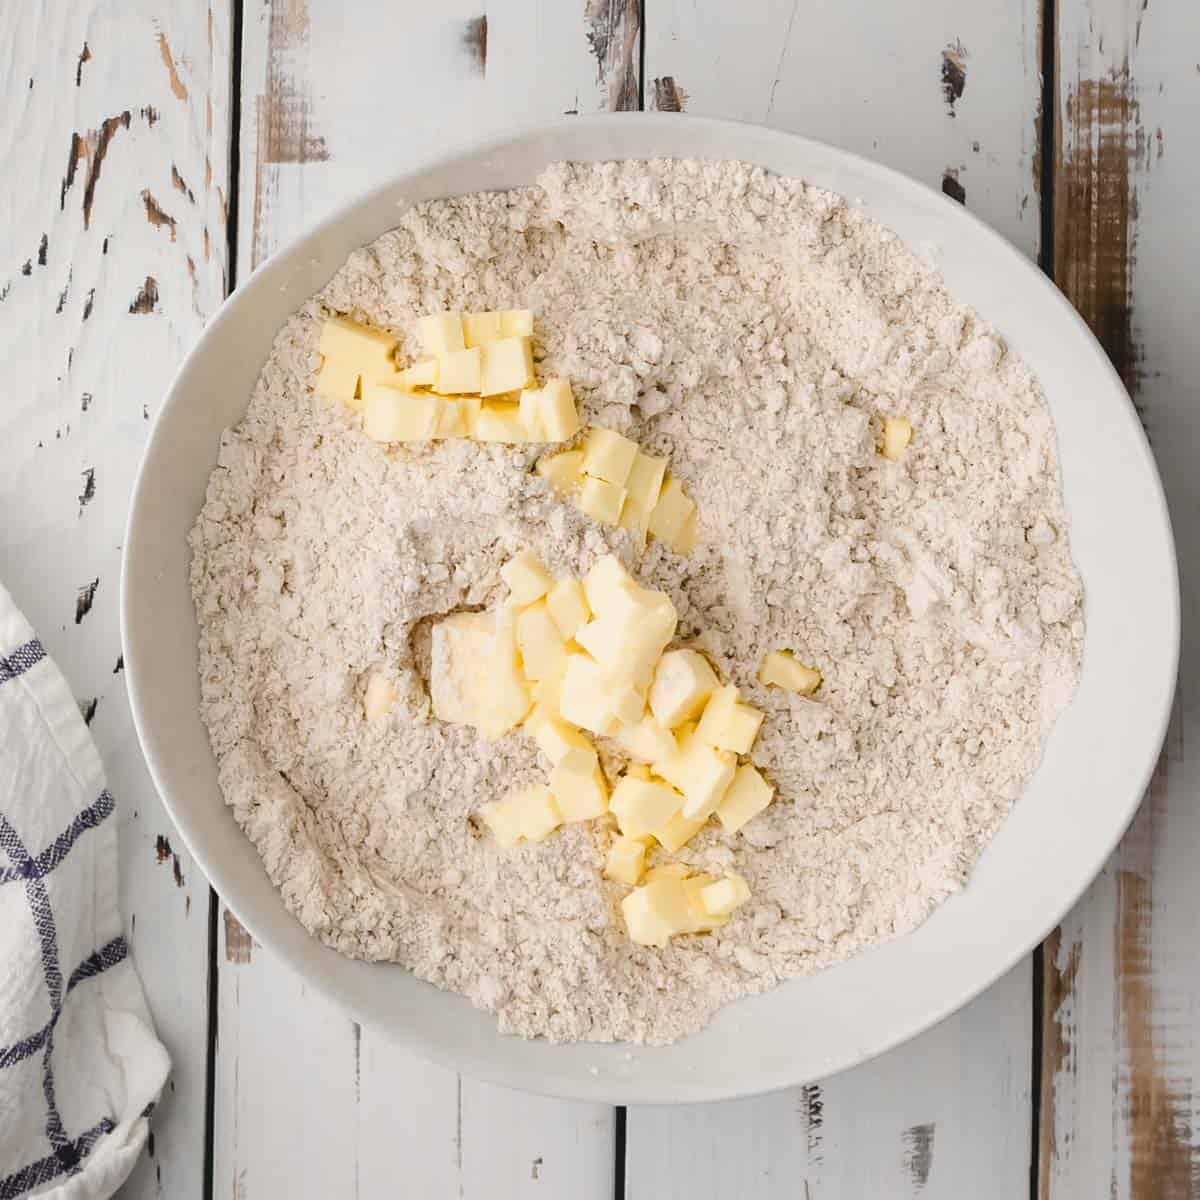
- Cut 6 Tablespoons of butter into the oat flour mixture with a pastry cutter or fork until it breaks down into small pebbles.
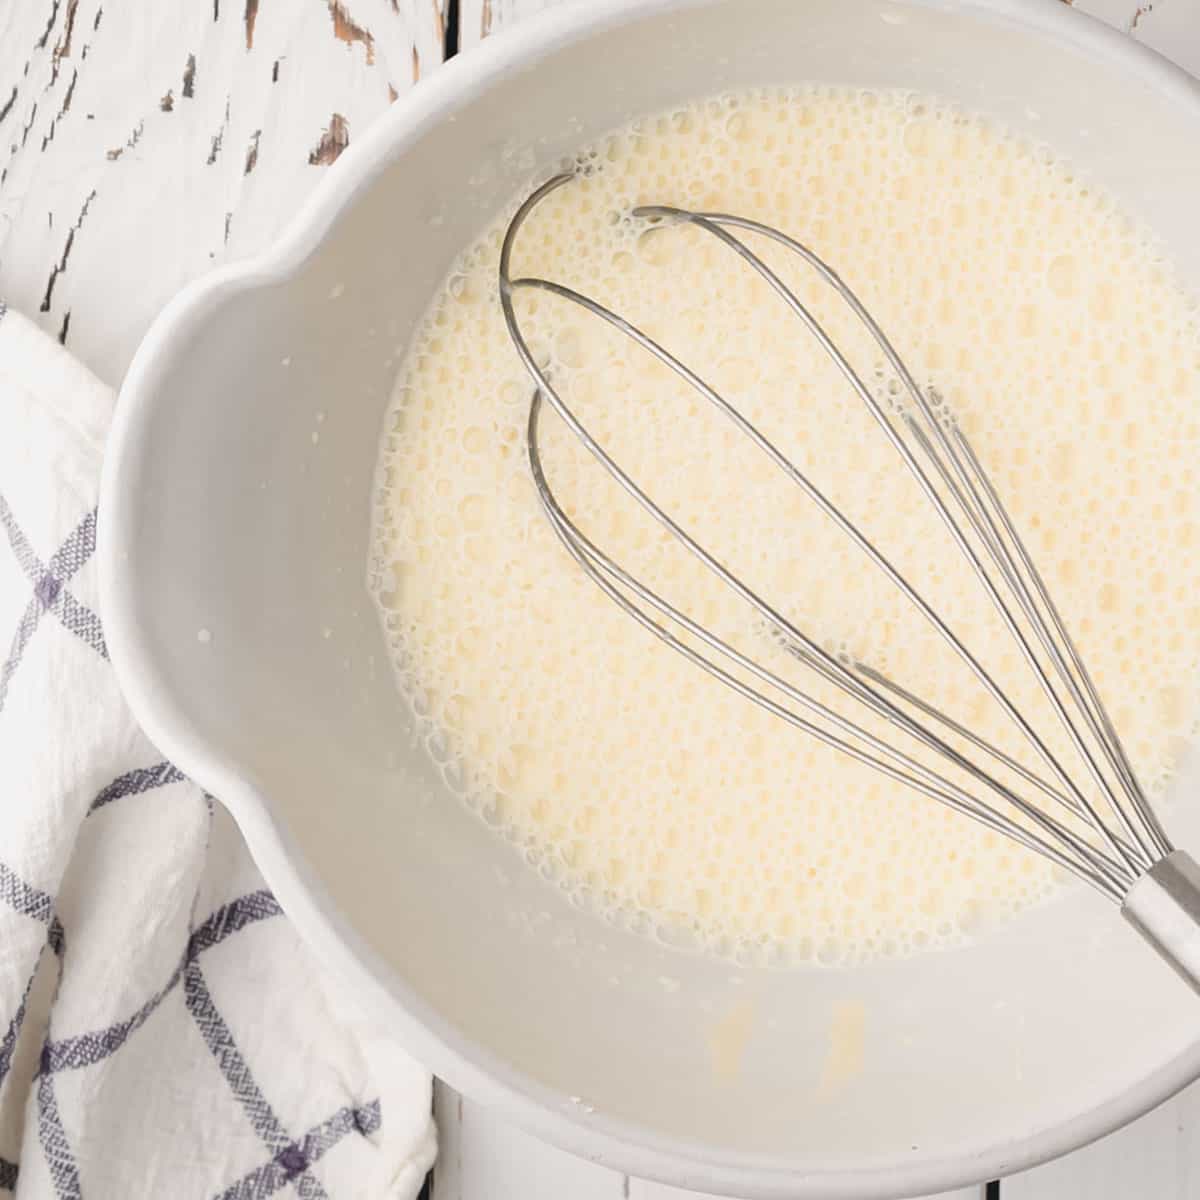
- Add egg and honey to large bowl with milk mixture and whisk it all together until eggs are beaten and the wet ingredients are frothy.
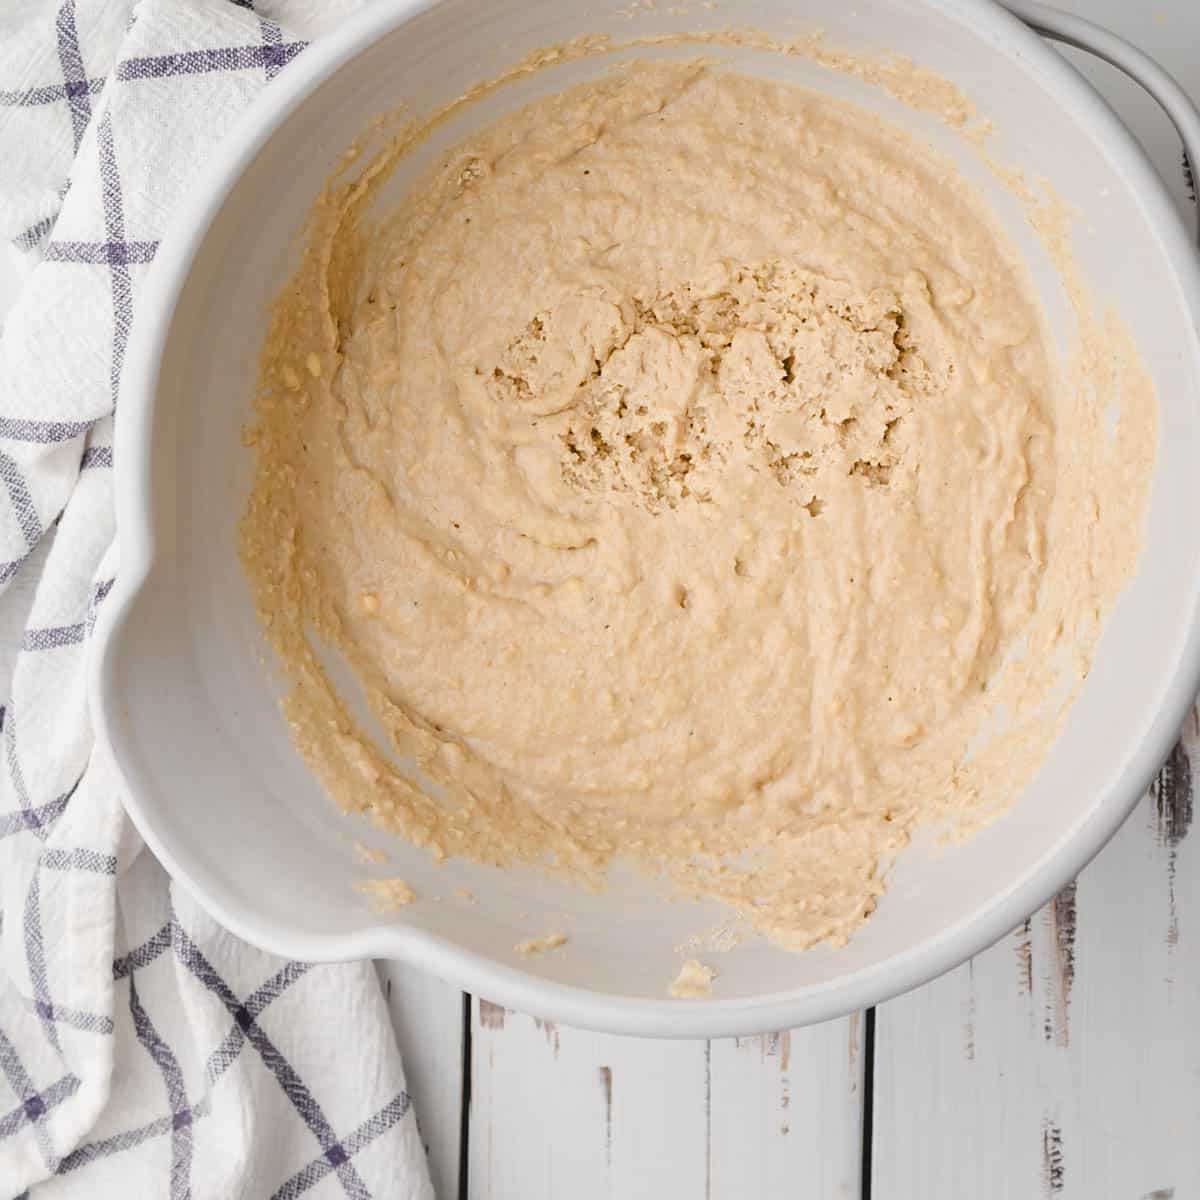
- Pour wet ingredients into dry ingredients and work in with a spoon until fully incorporated. Don’t over mix though! Dough will be wet and sticky. Cover and refrigerate for 20-30 minutes to allow the oat flour to absorb the liquid. Refrigerating keeps the butter cold.
- Line a baking sheet with parchment paper or spray it down with cooking spray, or grease by rubbing with butter. Set aside.
- Remove dough from refrigerator. It should be thick and scoop-able now. Preheat oven to 400° F (190° C).
- Use spoon to scoop dough into 8 equal sized lumps and drop each onto parchment lined baking sheet, spacing at least 1 inch (2.5cm) apart.
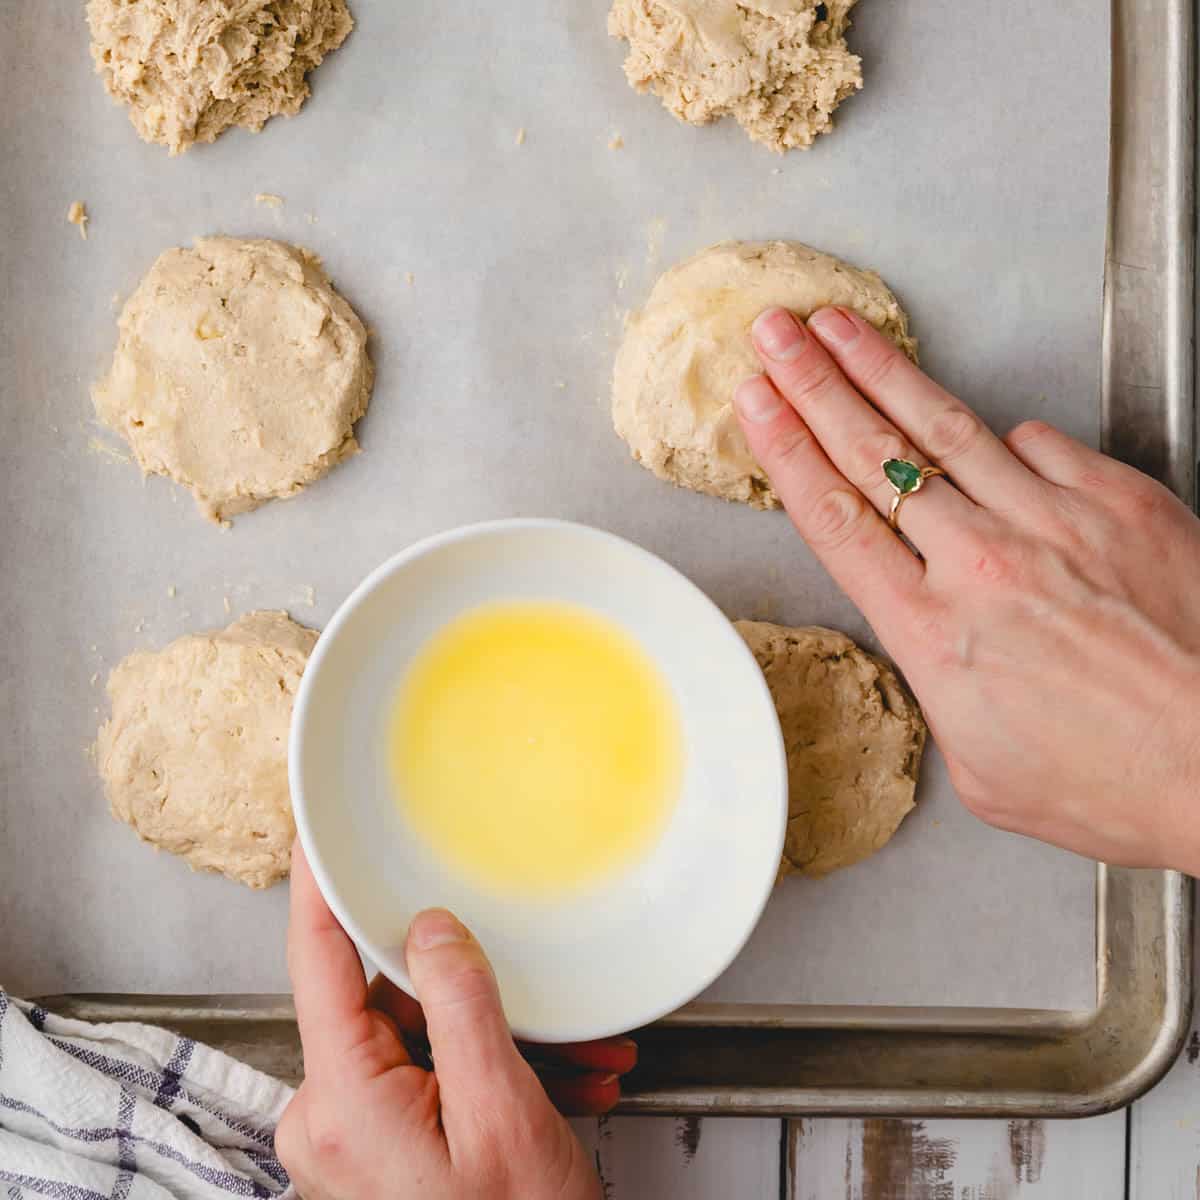
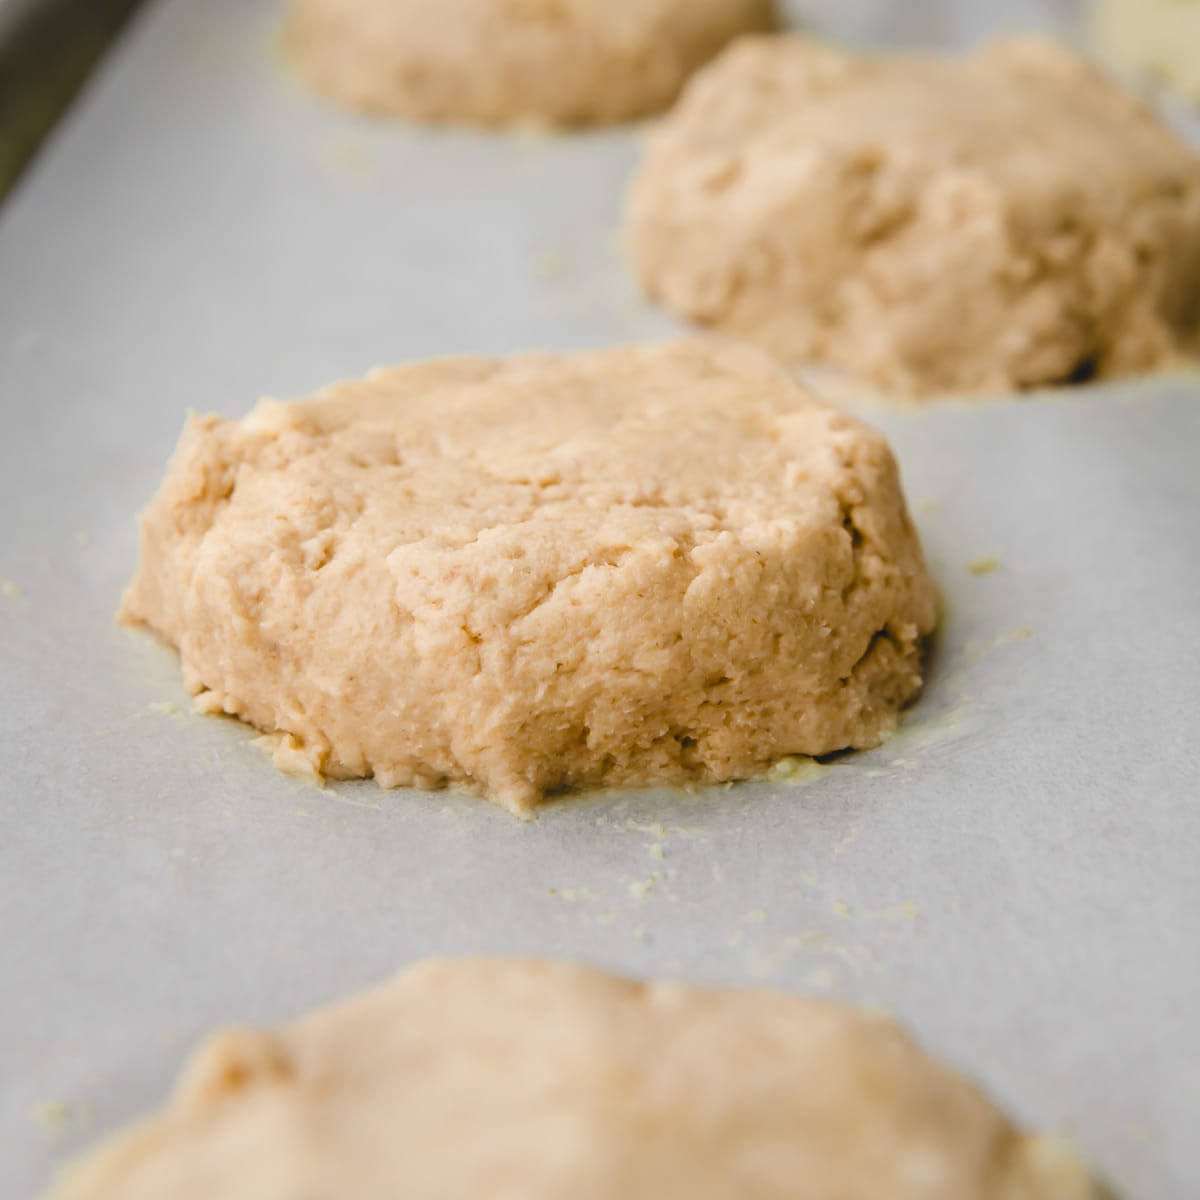
- Melt remaining 1 Tablespoon butter in a small dish. Use your fingers to press each ball of dough down on top to flatten and shape into biscuit sized circle. Dip your fingers in butter for each one to prevent sticking and add a rich buttery flavor. Each biscuit should be about an inch high in thickness.
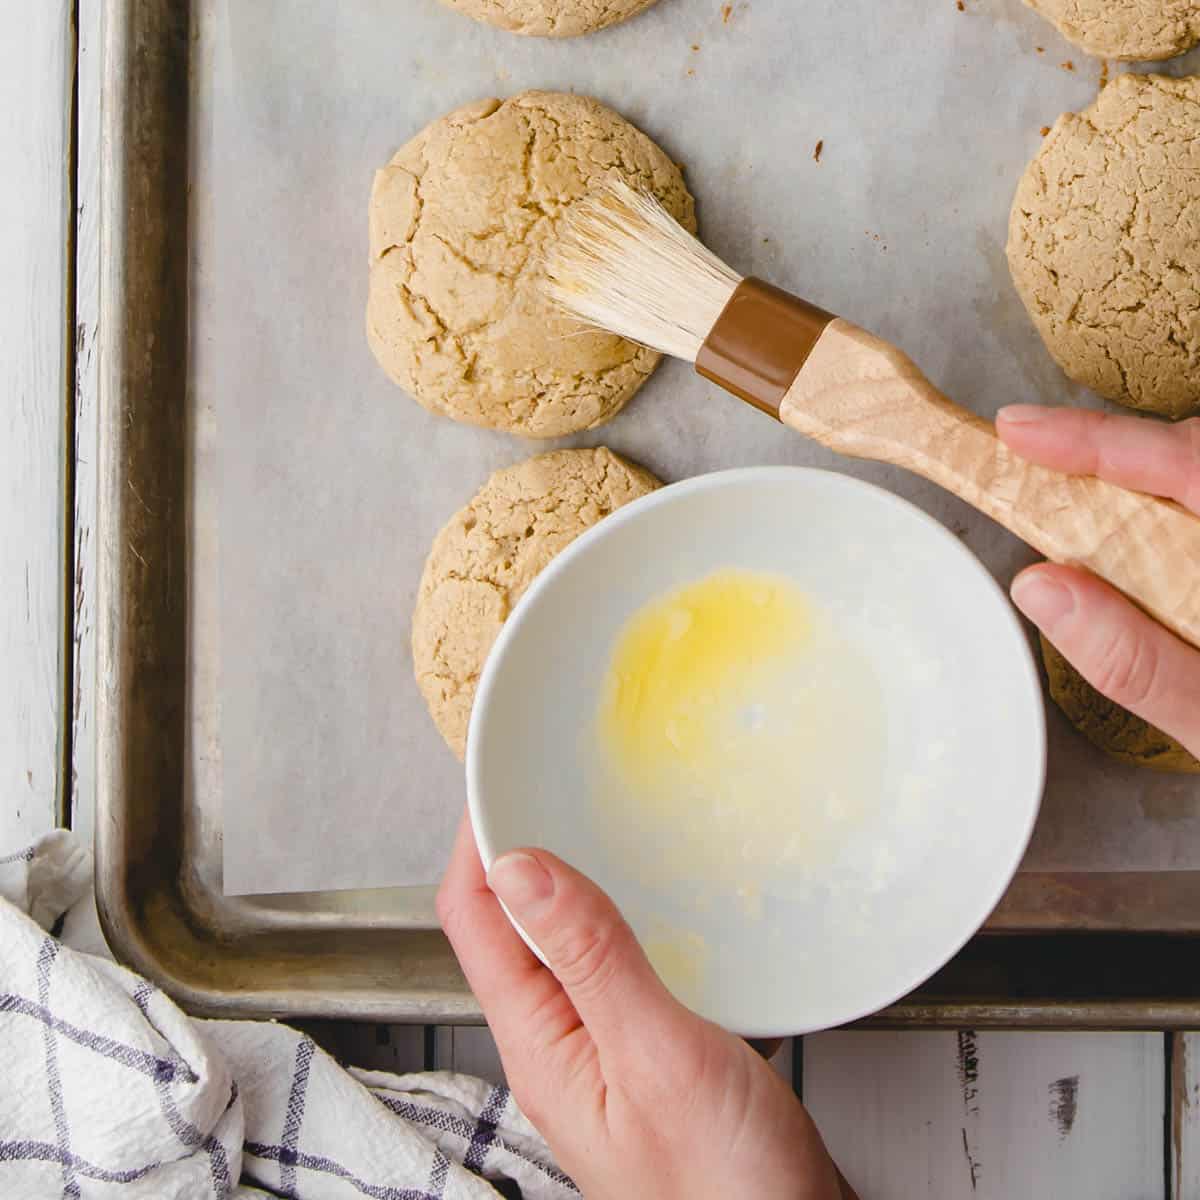
- Bake in preheated oven for 10-14 minutes until biscuits are lightly golden on top. Let them cool on the pan for 10 minutes before removing and serving. Optional and extra: you can use a pastry brush to brush biscuits with any remaining melted butter while still warm if you want to.
- Serve biscuits while still warm with additional butter, jam, honey butter or however you prefer. Enjoy!
How to Store and Freeze Biscuits
Storage: These biscuits are best served fresh but can be kept in an airtight container at room temperature for up to 3 days. Don’t refrigerate or they’ll get harder faster.
Freezing: Fully cooled biscuits can be frozen for up to 3 months. Wrap each one individually with parchment paper and then store in a freezer safe bag or container.
Defrosting: To defrost, thaw at room temperature for about 2 hours or on the defrost setting in the microwave. They are best served warm, especially after being frozen. You can re-warm in the microwave or oven. If using the microwave, wrapping the biscuit in a damp paper towel can help keep it from drying out. Or you can reheat and defrost at the same time in a toaster oven or on the rack of an oven set to 350° for about 10 minutes.
Reheating from Room Temperature: Reheat in a toaster oven or on a baking sheet in the oven at 350° F for 5-8 minutes.
HOT TIP: One (less healthy but delicious) way to revive old biscuits is to cut in half, slather the cut side in butter and broil face up for 1-2 minutes until the top starts to crust over. This is the way my mom did it when I was growing up.
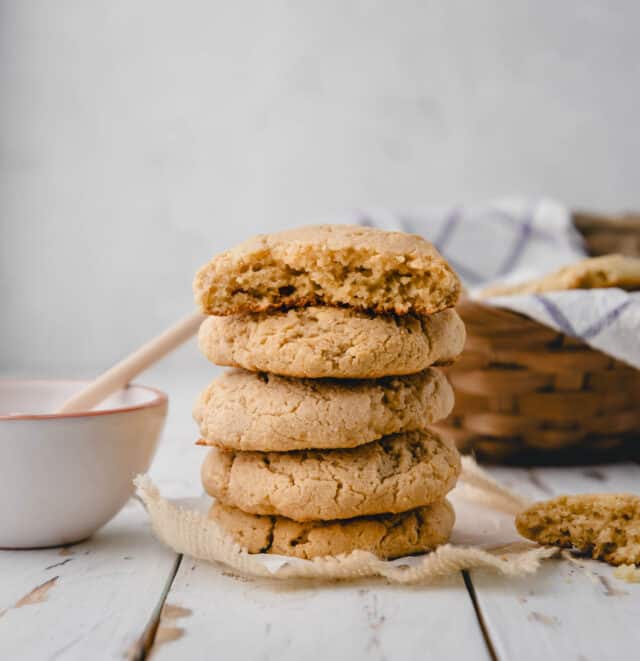
Tips for Making the Best Oat Flour Biscuits
Recipe TIPS:
- Don’t over knead the dough or the biscuits will be tough and less airy.
- All ingredients (egg, milk) should be room temperature for best results EXCEPT for the butter.
- Make sure your butter is cold. Like super cold. Keep it in the fridge until just before cutting into the dry ingredients. You can even place it in the freezer for 10 minutes after cutting into cubes to make sure it’s extra cold. This creates little buttery pockets of moisture.
- Use the spoon and level method to measure oat flour instead of scooping with the cup. Alternatively, you can weigh ingredients to be more precise.
- Don’t over bake! Remove those biscuits from the oven when the tops are just starting to turn golden brown.
- Refrigeration and resting time is necessary. As with oat waffles, oatmeal pancakes and many other oat flour recipes, resting time is critical since oats absorb at a different rate than flour. Refrigerating keeps the butter cold.

What to Serve with Oat Flour Biscuits
These can pair well with anything from breakfast to dinner but here are some of favorite ways to eat them:
- With butter and jam or jelly
- As the base for biscuits and gravy
- Paired with soup or stew – this Hungarian paprika soup is fantastic
- Alongside a hearty salad
- In a more nutritious version of strawberry shortcake, topped with masticated strawberries and a sprinkle of sugar
- Topped with peanut butter and honey
- Along with an egg breakfast
- Under poached eggs and ham or veggies as a biscuit Benedict
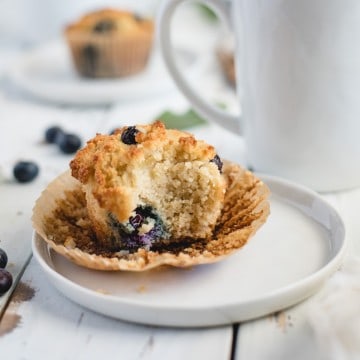
If these biscuits aren’t your thing, but you want something satisfying and gluten free, I have LOADS of gluten free recipes on this site. All of the almond flour muffin recipes are to die for!
Biscuit Add-Ins
If you love this base recipe and want to experiment, these biscuits would be great for creating different varieties. While I haven’t tested all of these, here are some fun ideas to get your experimental wheel turning.
- A can of diced jalapeños and shredded cheddar
- Fresh herbs and bacon, ham or sausage
- Extra honey, vanilla and berries
- Cinnamon and sugar
Can these biscuits be vegan?
I have not tested a vegan version but if you want to try it I have a few recommendations. Replace the milk with oat milk, almond milk or another dairy free option. Swap the butter with a vegan butter replacement stick, not the tubbed spread. Substitute the egg with a flax egg or store bought egg replacement and the honey with agave syrup.
Can I make my own oat flour?
Of course! See my guide on making oat flour out of oats. You essentially blend slightly more than 2 cups of oats in a high speed blender for 4-5 minutes until it becomes a fine powder. I recommend using rolled oats (aka old fashioned oats) for homemade oat flour.
Oat Flour Recipes
Equipment
- 1 Medium bowl
- 1 Pastry cutter or fork
- 1 parchment paper or extra oil or butter to grease pan
Ingredients
- 3/4 cup whole milk 2% is ok but don't use nonfat
- 2 teaspoons distilled white vinegar
- 2 cups oat flour choose Gluten-Free if needed or see notes for making your own
- 1 Tablespoon baking powder
- 1 teaspoon salt 3/4 teaspoon if using salted butter
- 6 Tbsp. butter +1 additional optional tablespoon for brushing on
- 1 egg
- 2 Tablespoons honey
Instructions
- Mix ¾ cup milk and 2 teaspoons vinegar together in a small bowl and set aside while preparing the rest of the recipe (about 10 minutes).
- In a medium bowl, whisk together 2 cups out flour, 1 Tablespoon baking powder and 1 teaspoon salt until well mixed.
- Cut in 6 Tablespoons of butter with a pastry cutter or fork. Do this until the butter is broken down into small pebbles, smaller than a pencil eraser.
- Add 1 egg and 2 Tablespoons honey to bowl with milk mixture and whisk together for about 1 minute until eggs are beaten and mixture is frothy.
- Pour wet ingredients into dry, working in with a spoon until fully incorporated. Dough will be wet and somewhat sticky. Cover and refrigerate for 20-30 minutes.*
- Line a baking sheet with parchment paper or spray with cooking spray and set aside.
- Remove dough from refrigerator and preheat oven to 400° F (190° C).
- Use spoon to scoop dough into 8 equal sized lumps and drop each onto prepared baking sheet, spacing at least 1 inch (2.5cm) apart.
- Melt remaining 1 Tablespoon butter in a small dish. Use your fingers to press each ball of dough down on top to flatten and shape into biscuit sized circle, dipping them in butter for each one to prevent sticking and add flavor. Each biscuit should be about an inch high in thickness.
- Bake in preheated oven for 10-14 minutes until biscuits are lightly golden on top. Let biscuits cool on the pan for 10 minutes before removing and serving. Option: You can use a pastry brush to brush biscuits with any remaining melted butter while still warm if you want to.
- Serve biscuits with additional butter, jam, honey butter or however you prefer.
Notes
- Don’t over knead the dough or the biscuits will be tough and less airy.
- All ingredients (egg, milk) should be room temperature for best results EXCEPT for the butter.
- Make sure your butter is cold. Keep it in the fridge until just before cutting into dry ingredients. You can even place it in the freezer for 10 minutes after cutting into cubes to make sure it’s extra cold.
- Use the spoon and level method to measure oat flour instead of scooping with the cup. Alternatively, you can weigh ingredients.
Nutrition
did you make this recipe?
Make sure to follow on Pinterest @feastingnotfasting and on Instagram @feastingnotfasting



Leave a Review